Start with a reference garment, not a familiar letter
Searching for a Joyagoo size chart usually begins with a simple question: which size should I select on this product link? The useful answer comes from the individual seller's measurements. A familiar M, L or EU label is only a label until you know the cut and dimensions behind it. Save the chart from the exact listing and check whether it describes the selected style, a different item in the same listing or body measurements rather than clothing.
Choose a garment you already wear comfortably and that serves the same purpose. Compare a hoodie with a hoodie of similar thickness, not with a thin T-shirt. Lay it flat without stretching it, smooth obvious folds and use a flexible tape. Record the measuring points as well as the numbers. This makes your reference repeatable and gives a warehouse measurement request a clear meaning later.
Read the units and the measurement type
Check whether the chart uses centimeters or inches before comparing numbers. One inch equals 2.54 centimeters. Also distinguish flat width from circumference. A chest measurement of 56 cm across a laid-flat garment is not the same field as a 56 cm chest circumference. If a chart calls both fields chest without a diagram, ask which method was used. Do not resolve an unclear field by simply doubling or halving it until a size looks plausible.
Record whether the seller gives a garment measurement, a suggested body measurement or a height-and-weight recommendation. These can support different decisions and should not share one column. A height-and-weight table cannot tell you sleeve length, shoulder shape or the amount of room at the waist. Fabric stretch, lining and the intended silhouette can also change comfort at the same nominal measurement, so keep those observations beside the chart.
Measure tops at consistent points
For a T-shirt or sweatshirt, measure chest width from underarm to underarm with the garment flat. Record body length from the same chosen starting point on every garment, such as the high shoulder point beside the collar. Note whether the seller measures from that point or from the back collar instead. For set-in sleeves, shoulder seam to cuff and shoulder seam to shoulder seam can help, but a dropped shoulder or raglan sleeve needs a matching diagram.
Use the reference garment to identify your priorities. A cropped fit may make body length the decisive field; a fitted jacket may make chest room and shoulder mobility more important. Do not average incompatible measurements into a single size score. If the chest works but the sleeve would be too short, the listing may be a poor match even when one of its labels normally fits you. The best choice can be another cut rather than the next letter size.
Measure trousers and shoes using their own conventions
For trousers, note waist width, rise, inseam and thigh width where the seller provides them. State whether an elastic waist is measured relaxed or stretched. Measure inseam from the crotch seam to the hem along the inside leg. Keep front rise separate from total length: two trousers with the same outer length may fit differently because their rise differs. Compare against a reference pair with a similar intended waistband position.
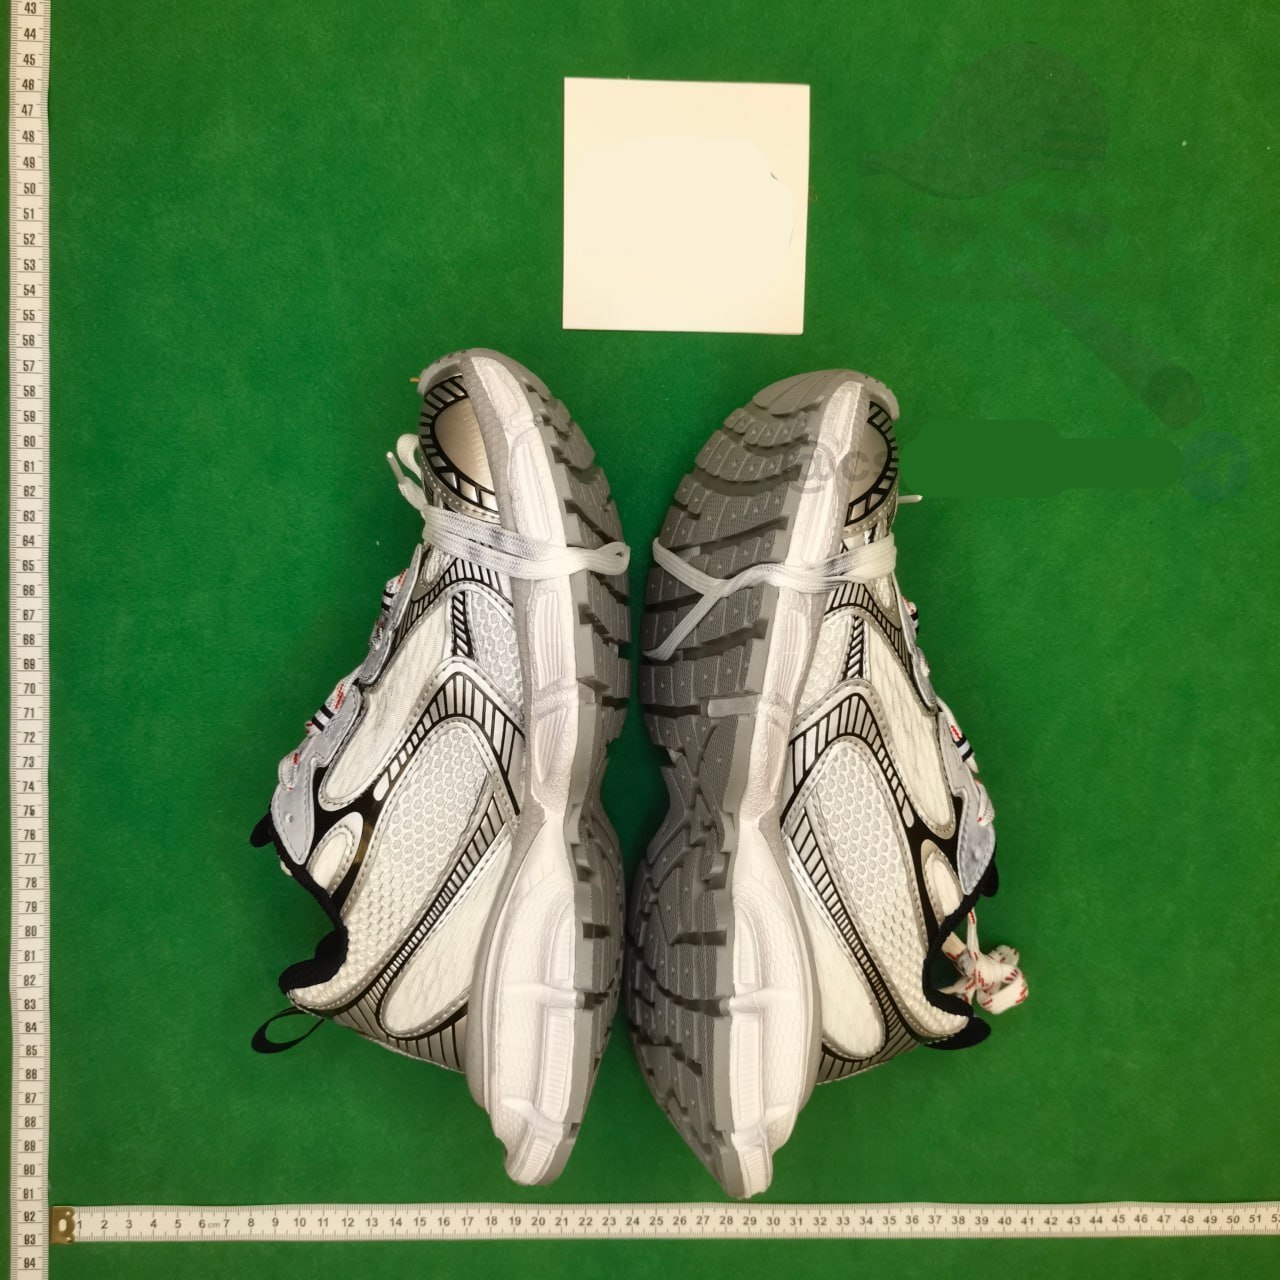
For shoes, do not assume that a printed EU or US size converts identically across sellers. Check whether a stated centimeter value means recommended foot length, insole length or another dimension. These are not interchangeable. Measure both feet while standing and use the larger relevant measurement for your comparison, while also considering width and the type of sock you expect to wear. A warehouse photo of an outsole does not automatically establish the internal space available to your foot.
Work through a comparison before selecting the variant
Imagine that a comfortable hoodie measures 58 cm across the chest and 68 cm in body length using your recorded method. The seller lists M at 56 and 67 cm, and L at 59 and 70 cm. L is closer on chest width but two centimeters longer than the reference. That does not make it universally correct. Decide whether the added length is acceptable and check any other critical measurement before choosing. These numbers are an example, not a recommendation for a real product.
A helpful comparison record has five fields: measurement name, reference value, seller value, difference and decision. Keep any seller-stated tolerance separate. If no tolerance is given, mark it unknown rather than inventing a standard allowance. A small difference may be acceptable in a relaxed garment and significant in a fitted one. Write your own acceptable range before purchase so you can make a consistent decision when actual measurement evidence arrives.
Write a measurement request someone can follow
Replace a vague request such as check the size with a specific instruction: photograph the hoodie flat, show the tape from underarm seam to underarm seam without stretching, and include both ends of the tape in the frame. For body length, name the starting point and ask for the whole measuring path. Include the order item and selected size so the request cannot easily be applied to a different product in the same parcel.
Confirm whether the current service offers the requested measurement, whether it costs extra and when it can be completed. A request is not proof that the measurement has already happened. On receipt, check that the tape is readable, the item is not folded across the measuring line and the units are visible. If the image does not answer the question, ask for the missing evidence while the relevant order options are still available.
Keep the size record through the QC decision
Save the source URL, selected option text, chart image, reference measurements and date together. When warehouse photos arrive, compare the label with the ordered variant first, then compare measured dimensions using the same method. A correct label can still leave a fit concern unresolved; conversely, an unfamiliar label may accompany measurements that match the seller's chart. Describe the actual discrepancy instead of claiming that every item with that label must fit the same way.
Decide between keeping, requesting clarification or pursuing an available after-sales option using the evidence and current seller terms. Do not assume that a sizing preference guarantees a return or that a photo can prove comfort in motion. Record what remains uncertain. The goal of the size-chart process is to make the variant choice more informed and easier to check, not to promise a perfect fit from a generic conversion table.